It's been several years since we've done one, so some of these pictures are from previous Christmas seasons. It's a slow process that takes a few days, but the kids have fun making it, and even more fun breaking it open and eating the candy!
Materials Required:
- Newspaper- cut in strips or squares
- Home made paste
- Large balloon
- Two big bowls- one for the flower and water for paste, and one for the balloon to sit in
Directions:
Cut up several newspapers in strips and squares
Mix paste- In a large bowl mix flour and water to a sticky, but runny consistency.
Put strips of newspaper in the paste, one at a time, removing excess.
Place the strip on the balloon, starting at the top, and working your way around.
Continue until you have all or most of the balloon covered.
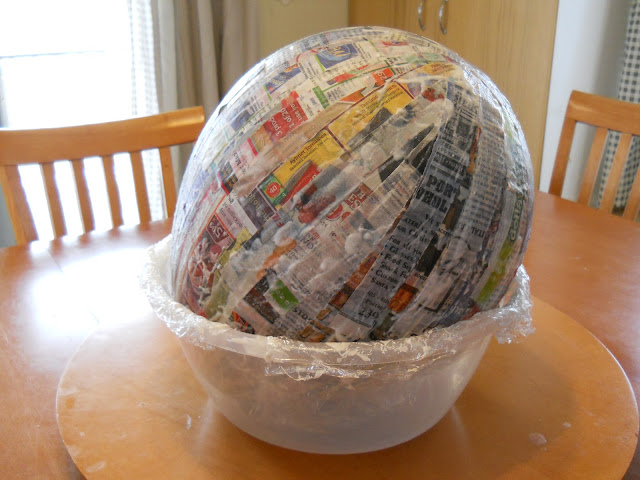
Carefully set the balloon in another clean bowl that's been lined with plastic wrap.
Let sit until dry. We left ours until the next day.
Throw out any left over paste and clean the bowl and any mess immediately.
When the first layer is dry, make another layer in the same way.
Repeat a third time.
 |
| Jerry and I putting strips of newspaper on the balloon. (he's so little!!) |
 |
| Carefully place strips on balloon! |
 |
| First layer complete |
Once the entire balloon was covered with paper, we left ours to dry overnight. The next day Danny and I put on another layer of strips. The third day we used squares of paper, just to add more strength, and let it dry overnight again.
 |
Directions Continued:
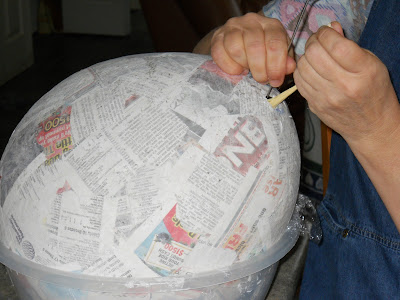
While holding the end of the balloon, use something sharp to deflate it, and remove it from the pinate.
Next- Decorate the pinate.
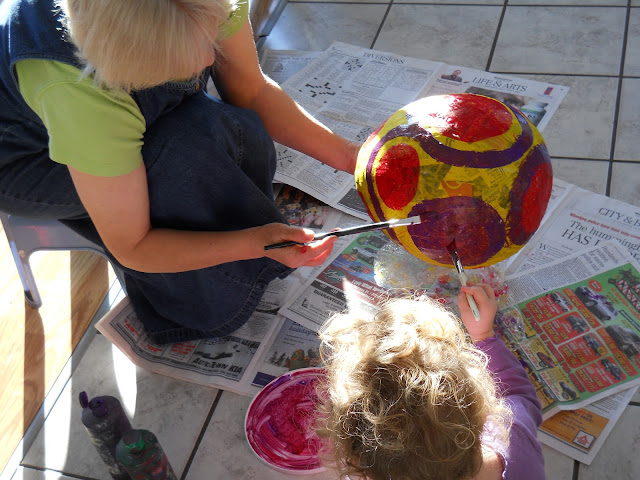 |
| We decided we didn't like the colors, so we gave this one a second coat! |
Last step, hang the pinate with string or rope...the pinate is very hard, so you may need to use a drill to poke holes through!
And let the fun begin! Just looking at these pictures from when our kids were younger is fun for me!
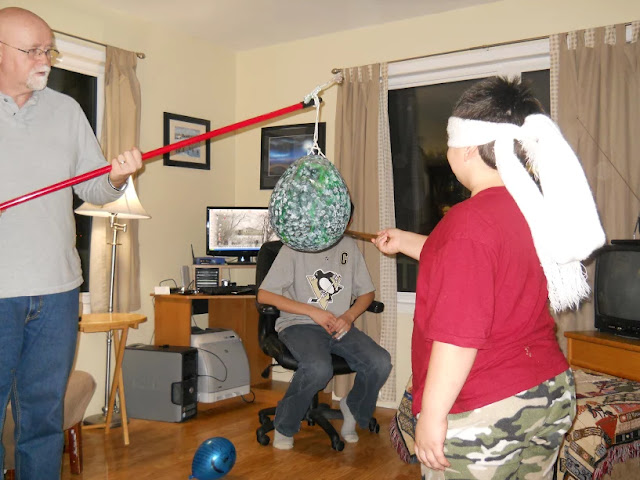 |
| Danny, lining up his shot! |
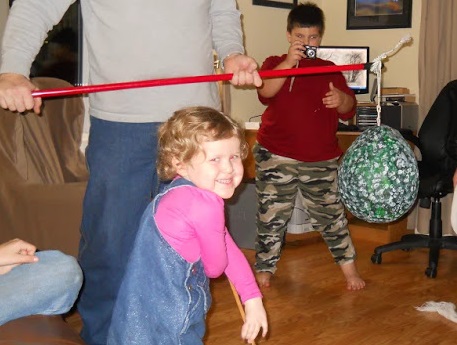 |
| Isn't that a mischievous look!? |
 |
| And this is the moment they've been waiting for!
I hope you're enjoying our Traditions of Christmas and maybe getting some ideas for your own family. We have a few more, so come on back tomorrow.
|
Follow us on facebook - Living Our Lives Well


No comments:
Post a Comment
Thank you for visiting Living Our Lives Well (LOL WELL)
We hope we've been a help and encouragement to you.