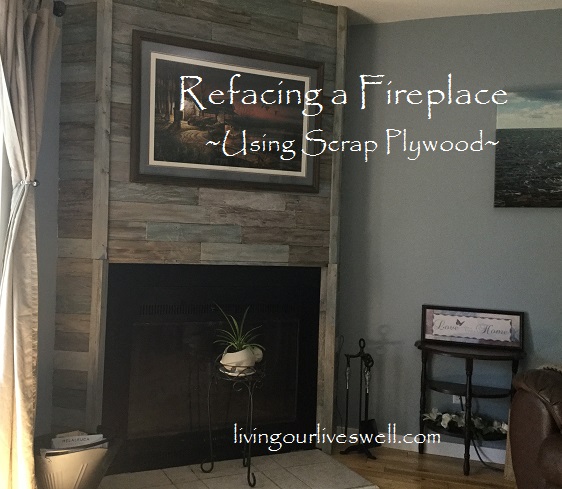
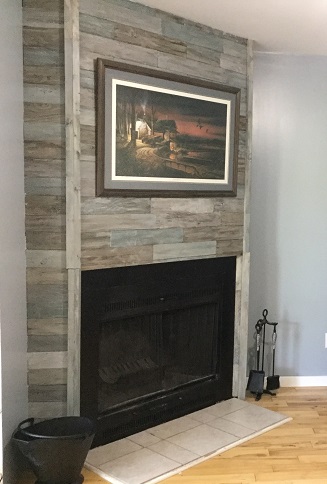
This was a fun and inexpensive way to update our fireplace.
Last spring we started some inside renovations on our 1960s house.
The first room we tackled is what we call the den. At one time this room was a bedroom, but a previous owner installed a garden door and a fireplace and opened the space up to the living room. It’s now the way we enter the house. Although our main goal was to upgrade the insulation and install drywall, as is often the case, the project grew once we got started.
We ended up redoing the front of the fireplace as well.
Previously the fireplace was just covered in the same painted panelling as the rest of the room. Since we removed all of the other panelling in the room, we just kept on going and took it all down. We discovered there wasn't even drywall under the panelling on the fireplace, just the wood framing.
The next job was deciding what material to use to replace the panelling.
After considering a few options and looking at a lot of ideas I decided to do a reclaimed wood look using some plywood scraps and leftover paint...
DIY at its finest!
My husband had saved a bunch of scrap plywood, 3/8 thickness. It really wasn’t useful for much of anything, so I figured it was worth a try to see if I could do something with it. Brian cut the plywood into various lengths at 3 1/2 inches wide. He then sanded it and bevelled the edges a little.
In the meantime, I sorted through my collection of stains and paint and chose a few I thought would give me the look I was going for; ivory, grey, and two shades of blue.
I started by putting a dark stain on all of the boards. Next, I experimented with the paint colours. I ended up brushing the paint on and then rubbing some off with a rag. I did several boards in each colour then decided to do some with a combination of all of the colours. You can see how I did that in the picture below.
Once The boards were all painted and dry, I set them out on a table to arrange the colour pattern before putting them on the wall.
We had already covered the framework with a sheet of plywood so Brian was able to use a brad nailer to secure the strips.
Brian cut a few more strips of trim to use on the edges and I painted them using the same method. It may not be to everyone’s taste, but I like the way it turned out, and it was so satisfying to be able to do the entire project with material we had just sitting around!
You can see the full room and fireplace reno on this video:


